Some posts on this site contain affiliate links. If you book or buy something through these links, I earn a small commission (at no extra cost to you). Take a look at my privacy policy for more information.
Planning on climbing Mount Fuji? This post contains everything you need to know!
Featuring an in-depth packing guide with equipment recommendations, a downloadable PDF packing checklist, and all my tips for the climb.
Plus there’s a breakdown of what you can expect from a standard Mt Fuji overnight tour. If you have any questions that I haven’t covered here, drop a comment below and I’ll try to help. Good luck!
Mount Fuji Packing List and What to Wear
This is my packing guide for Mount Fuji – everything you need to climb the mountain comfortably and safely!
I really don’t recommend attempting the climb without the proper equipment – you may still make it but it’ll be really uncomfortable.
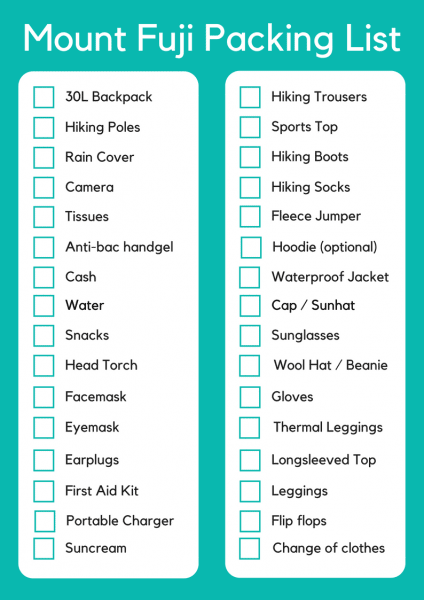
I’ve also included a PDF checklist at the end of this post so scroll down to download or print it!
Equipment
30L Backpack with hip straps – I really recommend finding a decent hiking backpack, hip straps are a MUST. I rented one* at the last minute and I was so glad I did – I don’t think I’d have made the top without it!
Collapsible hiking poles*
Backpack rain cover – VITAL. It can really rain on Fuji, and you need to protect your stuff. I doubled up by wrapping my clothes and camera in plastic bags inside the backpack too.
Anti-bac hand gel – most of the toilets have no sinks so you’ll want this!
Tissues – All the loos I used had tissue in, but it’s better to have and not need!
Cash money – Nowhere after the 5th station accepts cards. Most of the toilets charge 100 yen so make sure you have lots of change.
Snacks – Including a few healthy things like fruit and nuts. I had cola, gummy bears, and cakes, which in hindsight was probably not the best choice!
3 bottles of water – including my trusty Water-to-Go filter bottle for refills in a pinch (Read my review here and use code ELUX15 for a 15% discount to get your own).
Camera – Wrapped in a plastic bag, with spare battery.
Torch – Preferably a headlamp so you can hike hands-free.
Facemask or light scarf – It can get very dusty on the way back down.
Eyemask and earplugs – For sleeping (hopefully) in the mountain hut!
Paracetamol – And any other first aid / meds you need to carry.
Portable phone charger – I use this one from Anker. It’s small and fairly lightweight and charges my phone at least twice fully. PERFECT as there are no plug sockets available on Mt Fuji!
Suncream – preferably a mini bottle.
*(I rented both of these for 5,000 Yen total from a place opposite the university, where my tour departed from. Most tours also stop at a rental shop on the way to Fuji, and you can rent equipment from the 5th station – but these tend to be more expensive.)
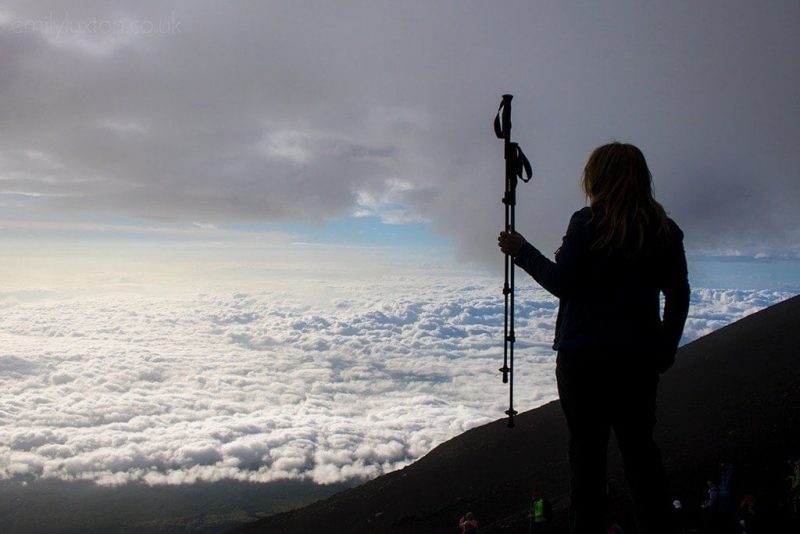
Clothing – What to Wear
Zip-off hiking trousers, in shorts mode to start – I have some fab, lightweight and fast-drying ones from Craghoppers which are a decent price and perfect for travel. These were a life-saver on the tour, because it started out baking hot and got REALLY cold by the time I was at the top.
High-wicking sports top – I wore this one from Columbia.
Hiking boots – These are VITAL in my opinion. I saw many people hiking up in trainers, and one girl was even in pumps. But I seriously do not recommend this. I think I’d have broken an ankle if it hadn’t been for my hiking boots! (Read my review of my fab Mountain Warehouse hiking boots).
Thick hiking socks – again, vital.
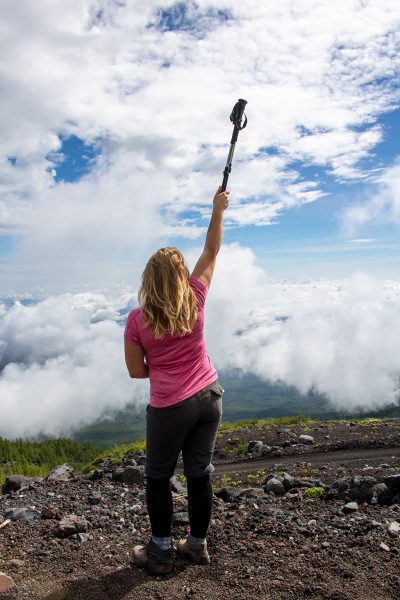
Clothing – What to Pack
When you start hiking, it will likely be pretty hot (assuming you’re hiking during the open season in summer). But as you go higher it gets cold, especially after dark. At the summit, I was freezing. So the trick is to pack several layers which you can add as you go.
Leggings / yoga pants – I wore these over my thermals to sleep, but I didn’t really need them in the end! One pair of leggings is probably enough.
Fleece jacket – My fleece from Columbia kept me super toasty and it’s not too bulky – ideal!
Hoodie*
Decent waterproof jacket – I really rate my North Face Sangro wind and waterproof jacket, it kept me warm and dry even through a typhoon!
Cap / sunhat
Sunglasses – Avoid expensive designer ones, as a lot of dust is flying around on the way down.
Wool hat / beanie
Gloves – VITAL! Not only does it get super cold, but you also need to use your hands at times to scramble over rocks. I only had a cheap pair of basic gloves but I was so grateful for them.
Change of Clothes for the Next Day – flip-flops, underwear, clean dress.**
*I was really worried about the cold, so packed a hoodie and a fleece jumper. In the end, I only needed one – although it was nice to have a change after sleeping in the hoodie.
**I left my flip-flops and change of clothes in a locker at the 5th Station, which cost 500 yen. Didn’t really need to as it was all light stuff, but every little helps!
When to Climb Mount Fuji
The official climbing season on Mount Fuji is from July through to mid-September – the dates vary depending on the year and trail. You can check the climbing season dates and any weather warnings on the governmental Fujisan website.
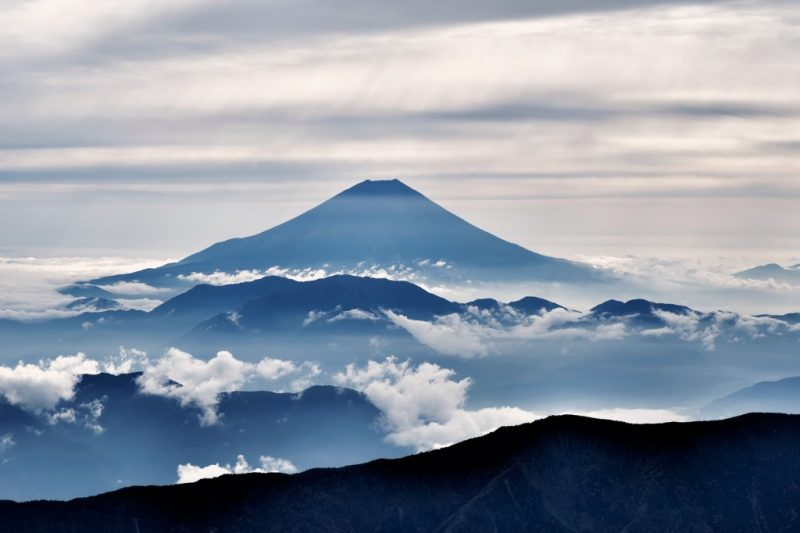
Although the mountain is technically open all year round, the mountain huts are only open during these summer months, and public transport becomes much less frequent or non-existent during the rest of the year.
It’s not recommended to climb Mount Fuji outside of the official season due to extreme weather conditions and risk of avalanches. Instead, you could book a sightseeing day trip like this Full-Day Fuji Tour and Hakone Cruise from Tokyo (from £105.97pp).
Do You Need to Book a Tour?
Well… yes and no!
You don’t need to book a tour and it’s entirely possible to climb Mount Fuji solo. The trails are decent and well-signposted, plus there are usually quite a few people around to follow.
But if you’re travelling solo, or you’re not super confident, I recommend booking a tour for Mount Fuji. I’m a total beginner: and this was my first proper mountain climb. I felt a lot better being part of a group and having a guide with me.
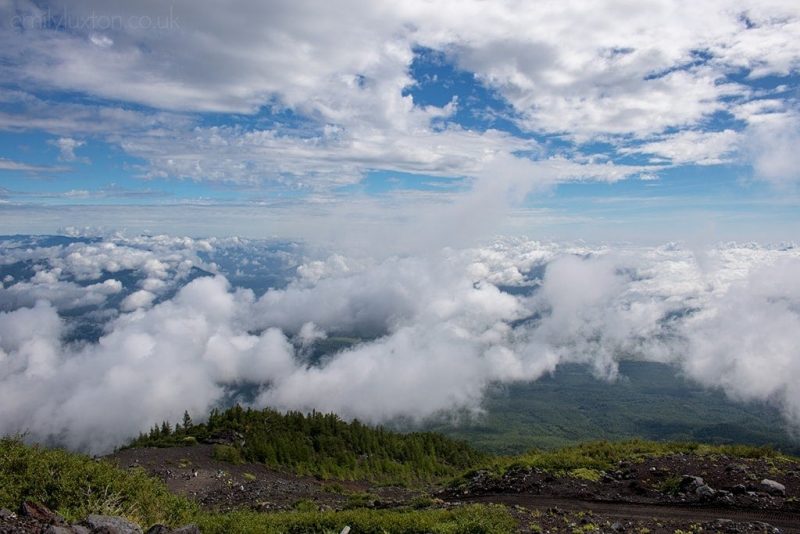
Also, the mountain hut accommodation gets booked up far in advance and most only have Japanese phone numbers to book. A tour will organise the accommodation for you which does make it a whole lot easier. All the huts we passed when I did the tour had “no vacancy” signs up, and we passed a few hikers napping at the side of the trail because they couldn’t get a bed anywhere – not something I recommend!
The final pro for booking a Mount Fuji tour was that the guide set the pace for our group, forcing me to go a lot slower than I might otherwise have done.
My usual tactic with these things is to go much faster than I’m actually capable of, in a push to get the whole hellish nightmare over with quicker. This tactic won’t work for Fuji – slow and steady is what’s going to win this race!
Mount Fuji Overnight Tour – What to Expect
So what’s an overnight hike on Mount Fuji like? My overnight tour with Voyagin seems like a pretty typical experience. Here’s what you can expect…
We left Tokyo at around 8am and drove to the Fifth Station on Mount Fuji. There was a brief stop along the way at a rental station for folks to pick up some equipment.
The 5th station is 2,305m above sea level, so you’re not starting from the very bottom of the mountain. But there’s still a long way to go! We were following the Yoshida Trail which is the easier and more popular trail. The hike starts out relatively easy as far as the 6th station, but then it becomes much steeper. It’s also pretty rocky in places and occasionally you need to scramble a bit, and use your hands as well as feet to climb.
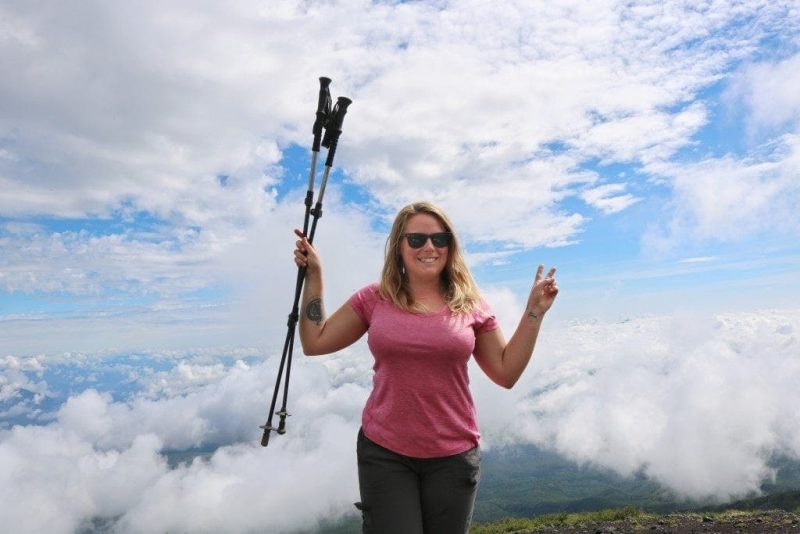
After the 8th station, we stopped at a mountain hut to rest. Because it was a busy day with lots of queues, we reached the hut at about 8:30pm. On better days you’ll likely arrive much earlier in the evening. We had dinner – rice, curry, and veg – and went to bed.
The mountain huts are… cosy! In mine, there were two long bunks with sleeping bags and tatami mats. All the sleeping bags were literally touching one another – I slept shoulder-to-shoulder with my neighbours! If I hadn’t been so exhausted I would never have fallen asleep. Take a sleeping mask and earplugs if you want to have any hope of sleeping.
We left at 1am so there was only time for a three-hour nap anyway! From there we made the final push to the summit (by now it was FREEZING COLD). We reached the summit about 20 minutes before sunrise, and had a bowl of hot miso soup to warm up while we waited. Sadly, there was too much cloud cover to see the sun that day!
Finally, it was time to hike down again. This takes most people around 4 hours – but it took me more than 6. On the way down you’re hiking on loose ash and gravel which is slippery. It’s also REALLY hard going on your knees and ankles all the way down – this is where good hiking boots and walking poles are life-savers!
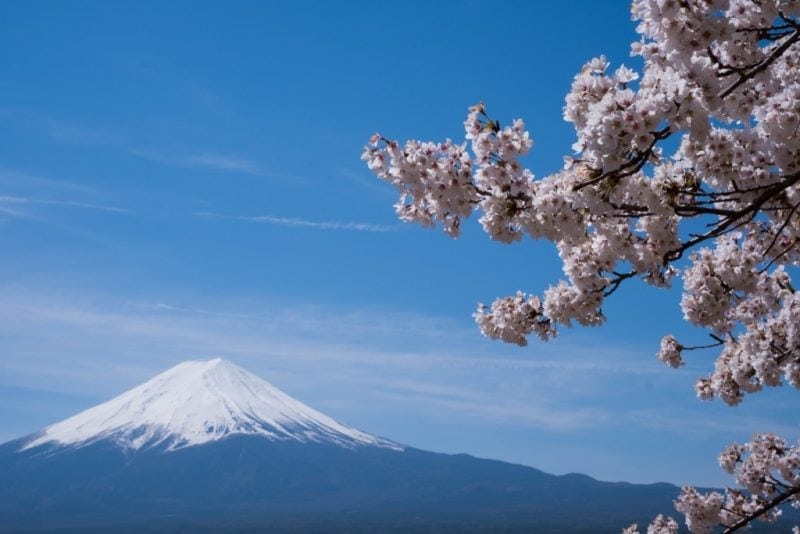
At the 5th station, we had some free time before leaving. I had an ice cream and sent a postcard to my nan from the Mount Fuji post office. Then we drove to a nearby hotel to use the onsen for an hour (I have tattoos, so instead I just sat in the lobby eating more ice cream and recovering). Finally, we drove back to Tokyo – where I spent two days unable to walk up and downstairs!
READ MORE: Check out my write up of the Mt Fuji tour experience for more insight into what it’s like.
Tips for Climbing Mount Fuji
Slow Steps, Deep Breaths
Our guide, Kenji, gave us a few tips for avoiding altitude sickness. I normally get affected pretty badly by altitude but this time was much easier. Not sure if Kenji’s tips had anything to do with it but I recommend following!
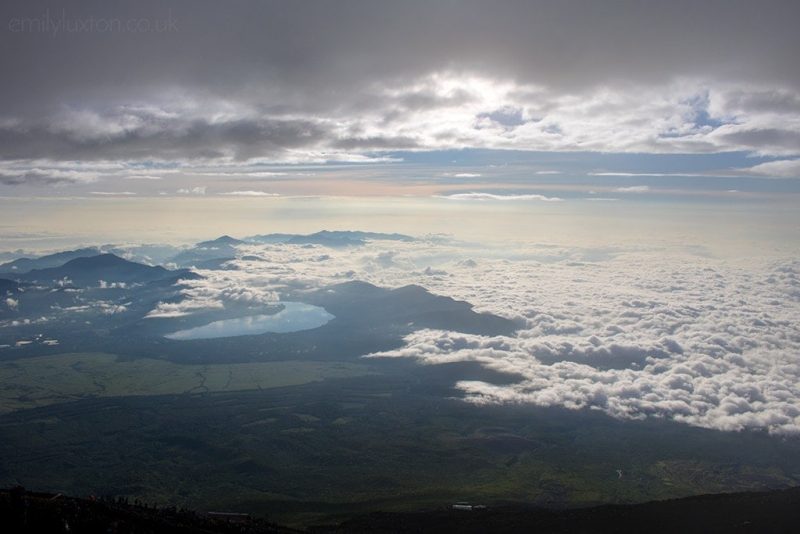
Take slow, deep breaths. Kenji said to concentrate on breathing out like you’re blowing up a balloon. Long, slow out-breaths with your cheeks puffed and your lips pouted. It forces you to breathe slower, and you look SO cool doing it. Win-win.
Also, SLOW STEPS. This is not a race and, no matter what I always think, you can’t make it go quicker by pushing yourself to walk fast! Small, slow steps are a WINNER here, I promise you.
It’s Cold at the Top!
Mount Fuji’s summit is 3,776m above sea level. Which means it’s COLD at the top. Seriously cold, even in the middle of summer – and especially in the early hours.
It can be around 5 degrees, so be prepared to be freezing, and take some money for a hot drink or bowl of miso to warm your bones. You’ll need it!
Layer Up!
The weather while you’re climbing Mount Fuji can change dramatically. I started hiking in a typhoon – thunder, torrential rain, lightning, the works. Then it was sunny and baking hot. Next, we had a lightning storm (thankfully dry). Then it was freezing cold at the top – and finally baking hot again by the time I’d hiked back down.
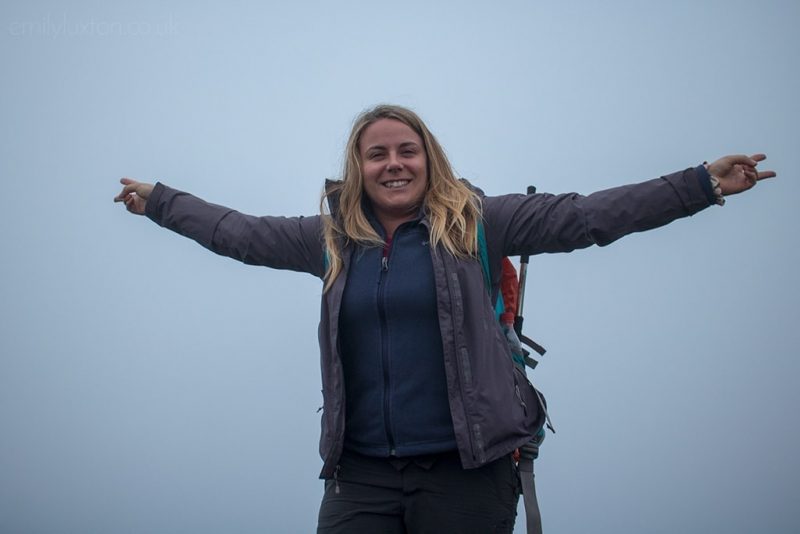
Layers are key. I started hiking in shorts and a t-shirt, with my raincoat over the top. Around the 8th station, after the sun went down, it got chilly and I zipped my sexy convertible shorts back into full-length trousers!
Overnight I slept in thermal leggings and my hoodie. Then, the next day I popped my hiking trousers over the top of my leggings (stinky!), put my long-sleeved thermal top over my t-shirt, and the fleece and waterproof on top of that. I was TOASTY – it was great!
On the way back down, as it warmed up, I stripped off a layer at a time until I was back in a t-shirt and shorts (with my leggings rolled up).
Be Careful What Day you Book
I inadvertently booked one of the busiest weekends of the year for my climb. It was the day after National Mountain Day, during Japan’s summer Obon holiday, on a Sunday. For most of the climb, we were in a thick queue which moved very slowly. It took a lot longer to reach the overnight stop, and subsequently the peak, than it should have.
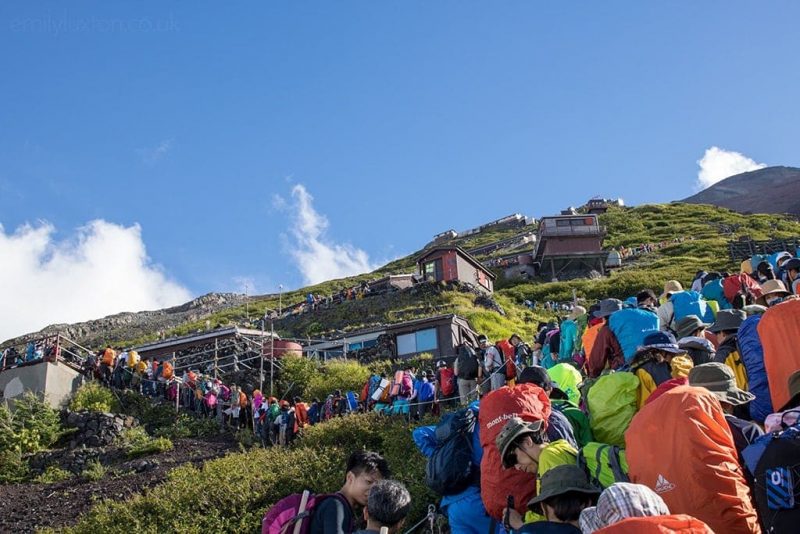
For me, the queue was ok as I couldn’t have hiked any faster than that anyway. But it did mean the summit was heaving and the whole experience didn’t feel quite as magical as you might hope.
Avoid weekends and public holidays if you can, and hopefully, your experience will be much quieter than mine.
Try to Get Some Training First
I was horrendously unfit when I did my Fuji climb, and it made things a lot harder. I recommend putting in some time at the gym beforehand! It’s entirely possible to climb the mountain even if you are unfit (I’m a shining example of that) but it might be a bit easier after a few gym sessions.
Be Prepared Not to See Sunrise
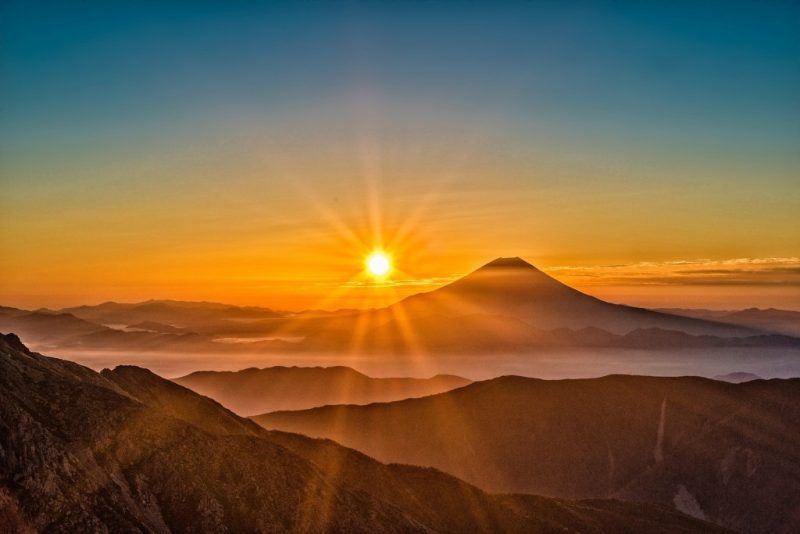
Weather can be pretty unpredictable on the side of a mountain. If you’re lucky, you’ll catch an amazing sunrise from the summit after climbing Mount Fuji. It can look like this…
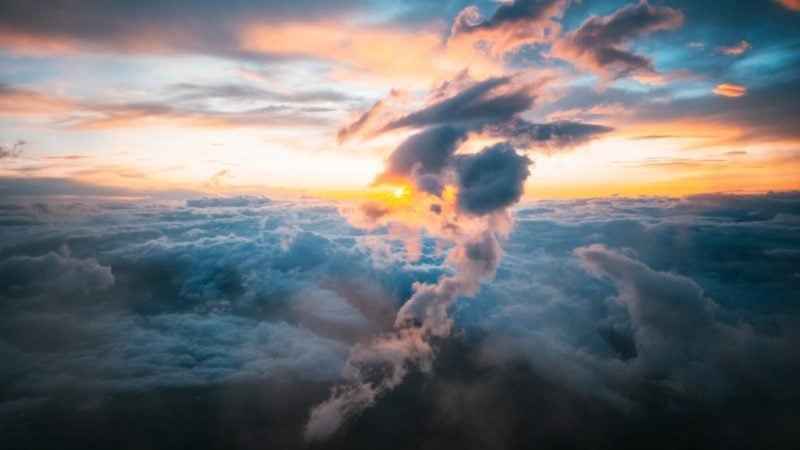
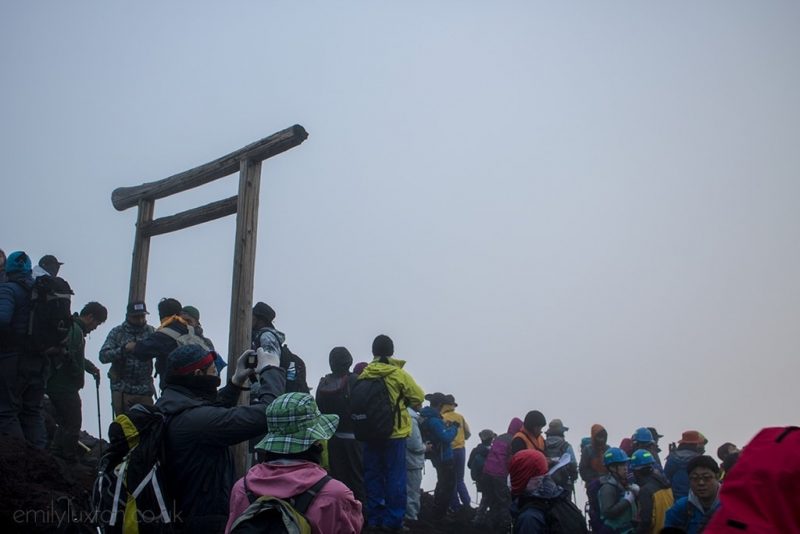
If the sky gets other ideas, you might see a blanket of grey – like I did! If that happens, you can always start descending and try to get below the clouds.
Sometimes just a little way back down the mountain, you can still catch an incredible sunrise. Just try not to be too disappointed if the weather lets you down.
Be CAREFUL on the Walk Down
The descent down Mount Fuji was actually much more physically gruelling than the hike up. I was so desperate to get down that I walked too quickly, and put way too much strain on my knees and ankles. Rookie mistake! Go slow and careful, step sideways on the really steep bits, and even walk backwards occasionally to take the strain off your knees.
I couldn’t climb stairs properly for at least three days afterwards. At one point, an elderly man on crutches overtook me going up the steps in the metro!
I was in agony for days and it could have been avoided if I’d been more careful. Thank goodness I was wearing hiking boots and using walking poles – otherwise, I might have done more serious damage!
Downloadable Mount Fuji Packing List
To make life easier for you, I’ve made a little checklist for you to download and keep. Make sure you have everything on the list and you’ll be comfy and warm enough whilst climbing Mount Fuji. Click here to view it full size.
Recommended Fuji Tours
I booked my overnight Fuji tour with Voyagin, but that travel company is now owned by Rakuten and the tour I booked doesn’t seem to be available any more. Instead, I recommend taking a look on Viator or GetYourGuide for Fuji tours. Those are the two sites I always use to book tours and I’d highly recommend them.
Got any questions about climbing Mount Fuji? Scroll down to leave me a comment and I’ll try to help out! Or if you just need a few words of encouragement. Or if you just fancy a chat…




Mount Fuji looks amazing. I’ve seen it on the backdrops of the Japanese Grand Prix for years and it always mesmerizes me.
It really is so amazing! I was sad not to see a proper sunrise, but the sheer fact that I DID it was enough for me! Such an achievement for me :)
What a great read Emily! I’m super unfit (to the point I walk less than the recommended 10,000 steps a day most days), so I’m glad there is a way I can do this climb without being a pro mountain climber. I’ll bookmark this for when I travel to Japan in the future :)
Thanks so much :) It is definitely a challenge – but I saw children and elderly people completing the climb, as well as unfit little me, so it’s definitely not something only professionals can do. I hope you do it (and that you get a better sunrise than I did if you do!!).
What a great recap! Thanks for your tips! I have been thinking about it. Your words will help me plan my trip.
Question:
1. What’s the bathroom condition is like at the stations?
2. Why were your leggings stinky? Any tips to avoid that? The quick dry clothings these days are pretty good at smell control. Just wondering. Thanks.
Hi Sara!!
Let’s see – the bathrooms differed from station to station, usually it was portaloo type things although sometimes they were a bit nicer. I recommend having tissue with you just in case, although they were never out when I was there. Also, carry anti-bac hand gel. There were usually sinks but not always soap.
I was just wearing wool thermal leggings, not quick-dry sports ones. If you can find some sports thermal leggings get those, but it was COLD up there so I wanted nice thick wool ones. They weren’t really stinky, I was just making a joke, but by the time I got back down the mountain after wearing them overnight and hiking in the sun all day, they weren’t very fresh anymore haha!
Hope that helps! Good luck with your hike!
Hi Emily,
I’ve been reading lots of posts on climbing Fuji and I thoroughly enjoyed yours! Thank you for the tips! I am climbing in about two weeks.
Several people have said that oxygen might be super handy. Did you see a lot of folks with oxygen cans or would you recommend?
I’m really nervous about the descent because I have bad knees. I hope to borrow a pair of hiking poles but I thought about buying a walking stick to have stamped along the way. Would you recommend the poles or stick? I’ve read a blog that discouraged a stick because you have to use your hands a good bit on the ascent.
Thanks again for your informative and fun post!
Brooke
Hi Brooke
Thanks so much for reading – I’m glad you found the post helpful :)
A few people had oxygen canisters BUT I’ve read, and been told, that they’re completely unnecessary. I think real mountain climbers don’t start using oxygen until above 5,500m – or even 7,000m. Mt Fuji is 3,776m at its summit. On the other hand, there was a guy in my group who was using a can of oxygen and he said it was really helpful. I didn’t have one and I reckon it’d be an unnecessary heavy thing to carry – but it’s personal choice.
If it helps, I also have really bad knees (early signs of the arthritis I’m inheriting from BOTH sides of my family, thanks guys) and I managed the climb :)
I used hiking poles and found them so helpful. There are a few bits where you might want to use your hands to climb because the rocky “steps” are big, but with hiking poles you have wrist straps so you can easily use your hands while still carrying the poles. Having said that, I don’t really remember using my hands much – I used the poles to balance on the rocky bits. It’s not a literal rock climb, it’s more like climbing a really steep hill with lots of rocks in the way. Personally, I wouldn’t recommend a stick. It’s better to have two for balance – especially coming back down, which is bad on your knees (walk sideways or backwards, it really helps). Plus I don’t think the walking sticks have wriststraps. It would be nice to get the stamps, but at rest stops you’re more likely to want a loo-break, a drink, and a sit-down than to queue up and get a stamp!
Hope all that helps – and good luck with your climb. Wear decent hiking boots – that’s my biggest tip. I still have nerve damage in my toe from wearing ill-fitting ones! Also, go slow and steady. You HAVE to do this at your own pace, even if you’re in a group and feel like you’re holding them up :)
Emily
Hi Emily
I will be in Tokyo early September (arriving the 8th) and would like to climb Mt. Fuji as well, but I can see on Voyagin that they don’t do guided tours after the 7th of September.
Do you know how and where to book buses from Toyko to the 5th station and how to book a stay in one of the huts?
Thanks,
Mie
Hi Mie, thanks for reading and commenting :)
I’m afraid I don’t know how to book busses as my only experience is doing this climb through the tour company. But I was told that the only way to book the huts is to phone them, and most only speak Japanese, so it’s fairly tricky for tourists to book. I don’t know if this is definitely true but it was what I was told.
There are several other Fuji tours on Voyagin – if it helps, I found this one which allows you to book on certain dates throughout September: https://www.govoyagin.com/activities/japan-tokyo-mt-fuji-two-day-summit-climb/3119?acode=emilyluxton
Hope that helps!
Emily
Hi, I’m climbing tomorrow! So excited, doing this with my 12 yo daughter.
How much cash did you bring and how much water?
Thank you for a great and encouraging blog?
How exciting! Hope my reply isn’t too late!
I took two litre bottles of water and my refillable filter bottle. You can buy water at stops all the way up and down, which saves you carrying too much. I don’t remember exactly how much cash I carried but I think it was a lot – like £100 or maybe even £200. I didn’t need it all but I just wanted to have much more than I needed!
Hi Emily,
Great post. Thanks.
I notice you don’t have a sleeping bag or mat on your pack list. Are both provided/included in the cost of the overnight at the hut(s)?
Thanks,
Mike
Hi Mike! Thanks for commenting :) The hut I stayed in had tatami mats and sleeping bags provided, I assume they are all the same but it may be worth checking if you have a specific hut in mind to stay in. I didn’t book the hut myself as I paid for a tour so it was part of the whole package.
Hope that helps :)
Emily